How to Change a Tire - Universal Step-by-Step Guide
This universal guide covers the basic steps for changing a tire that apply to most passenger vehicles. Always consult your owner's manual for specific instructions for your vehicle.
Spare tires are typically located in one of three places: under the cargo floor in SUVs/hatchbacks, under the trunk floor in sedans, or under the truck bed in pickups. Some vehicles may have the spare mounted on the rear door or under the hood.
Most vehicles have designated jack points on the frame or pinch welds under the rocker panels. Look for notches, ridges, or markings that indicate the proper lifting point. Never lift from the body panels, suspension, or exhaust.
Step-by-Step Instructions
Pull over to a flat, stable surface away from traffic. Ideally, find a parking lot or side street. Turn on your hazard lights to alert other drivers.
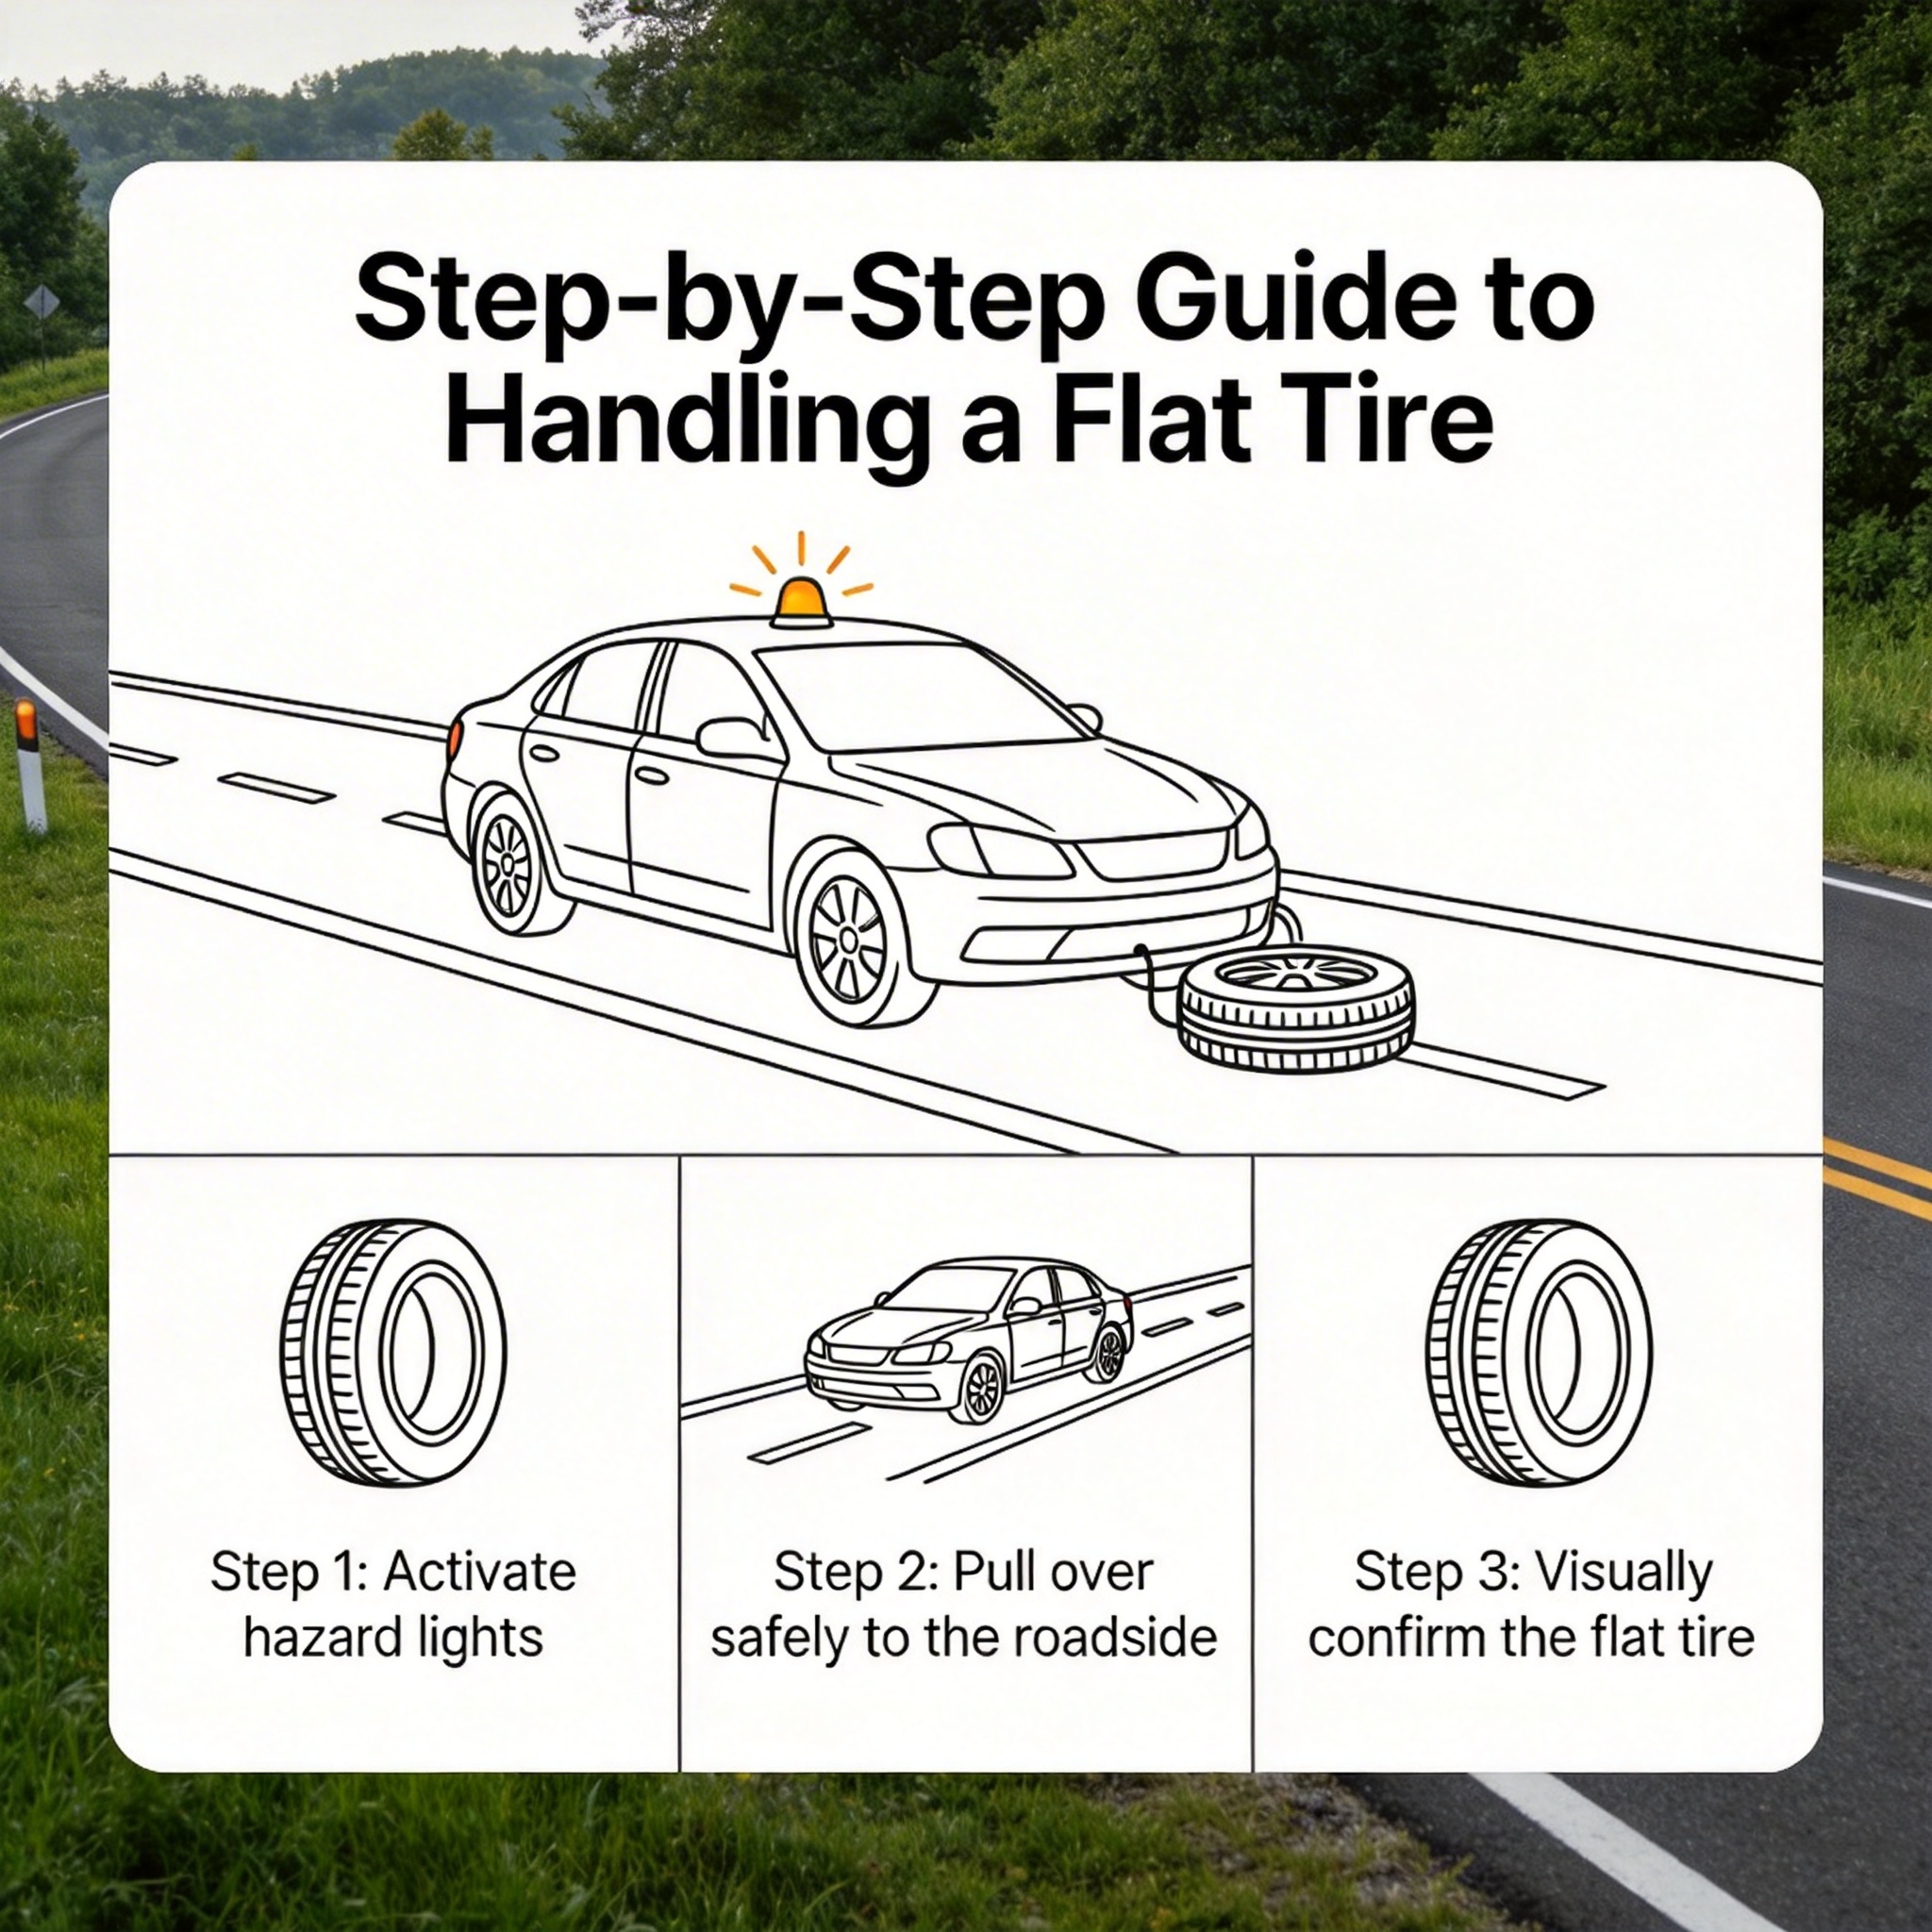
Tip: Avoid hills, curves, and soft surfaces like dirt or grass. If on a highway, try to reach an exit or pull far onto the shoulder.
Warning: Never change a tire on the traffic side of the vehicle if possible. If you must, stay as far from traffic as you can.
Put the vehicle in Park (automatic) or gear (manual). Engage the parking brake firmly. Place wheel wedges, blocks, or rocks behind the tire diagonally opposite the flat tire to prevent rolling.
Tip: On a hill, place wedges both in front of and behind the opposite tire for extra security.
Find your spare tire, jack, and lug wrench. These are typically under the trunk floor (sedans), cargo floor (SUVs), or under the truck bed (pickups). Remove them and place them near the flat tire.
Tip: Familiarize yourself with these locations before you have an emergency. Check your owner's manual.
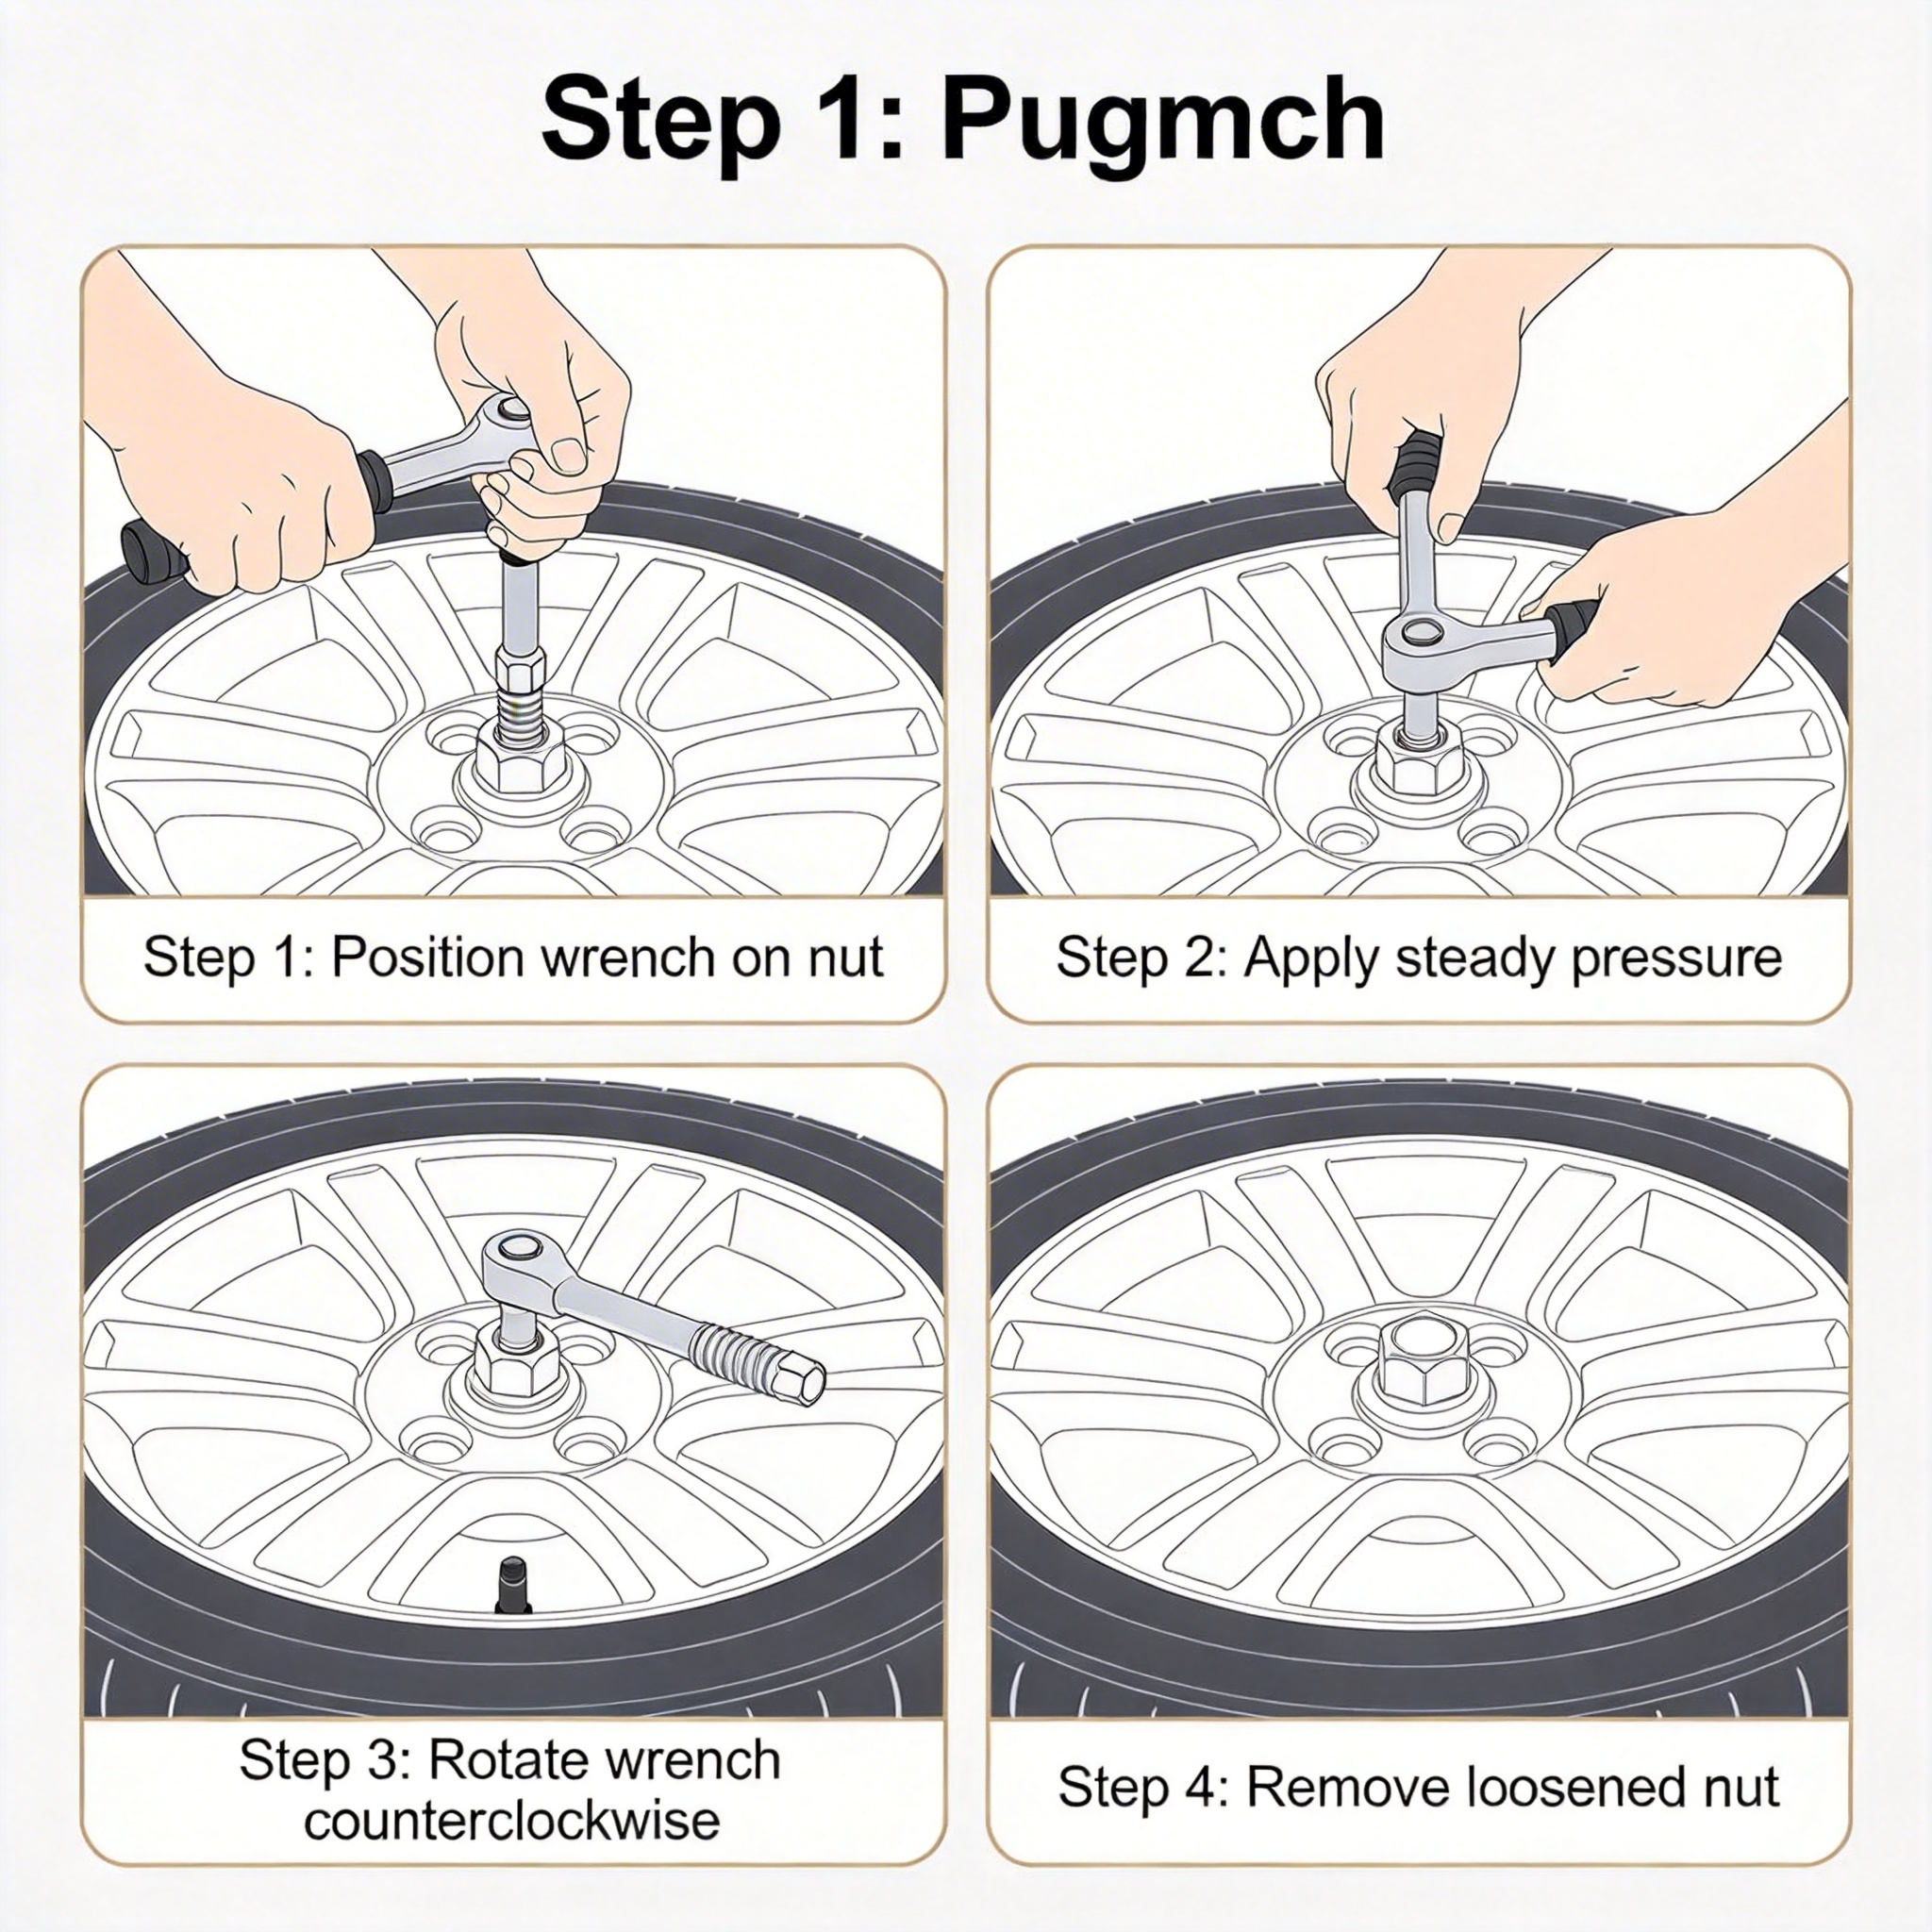
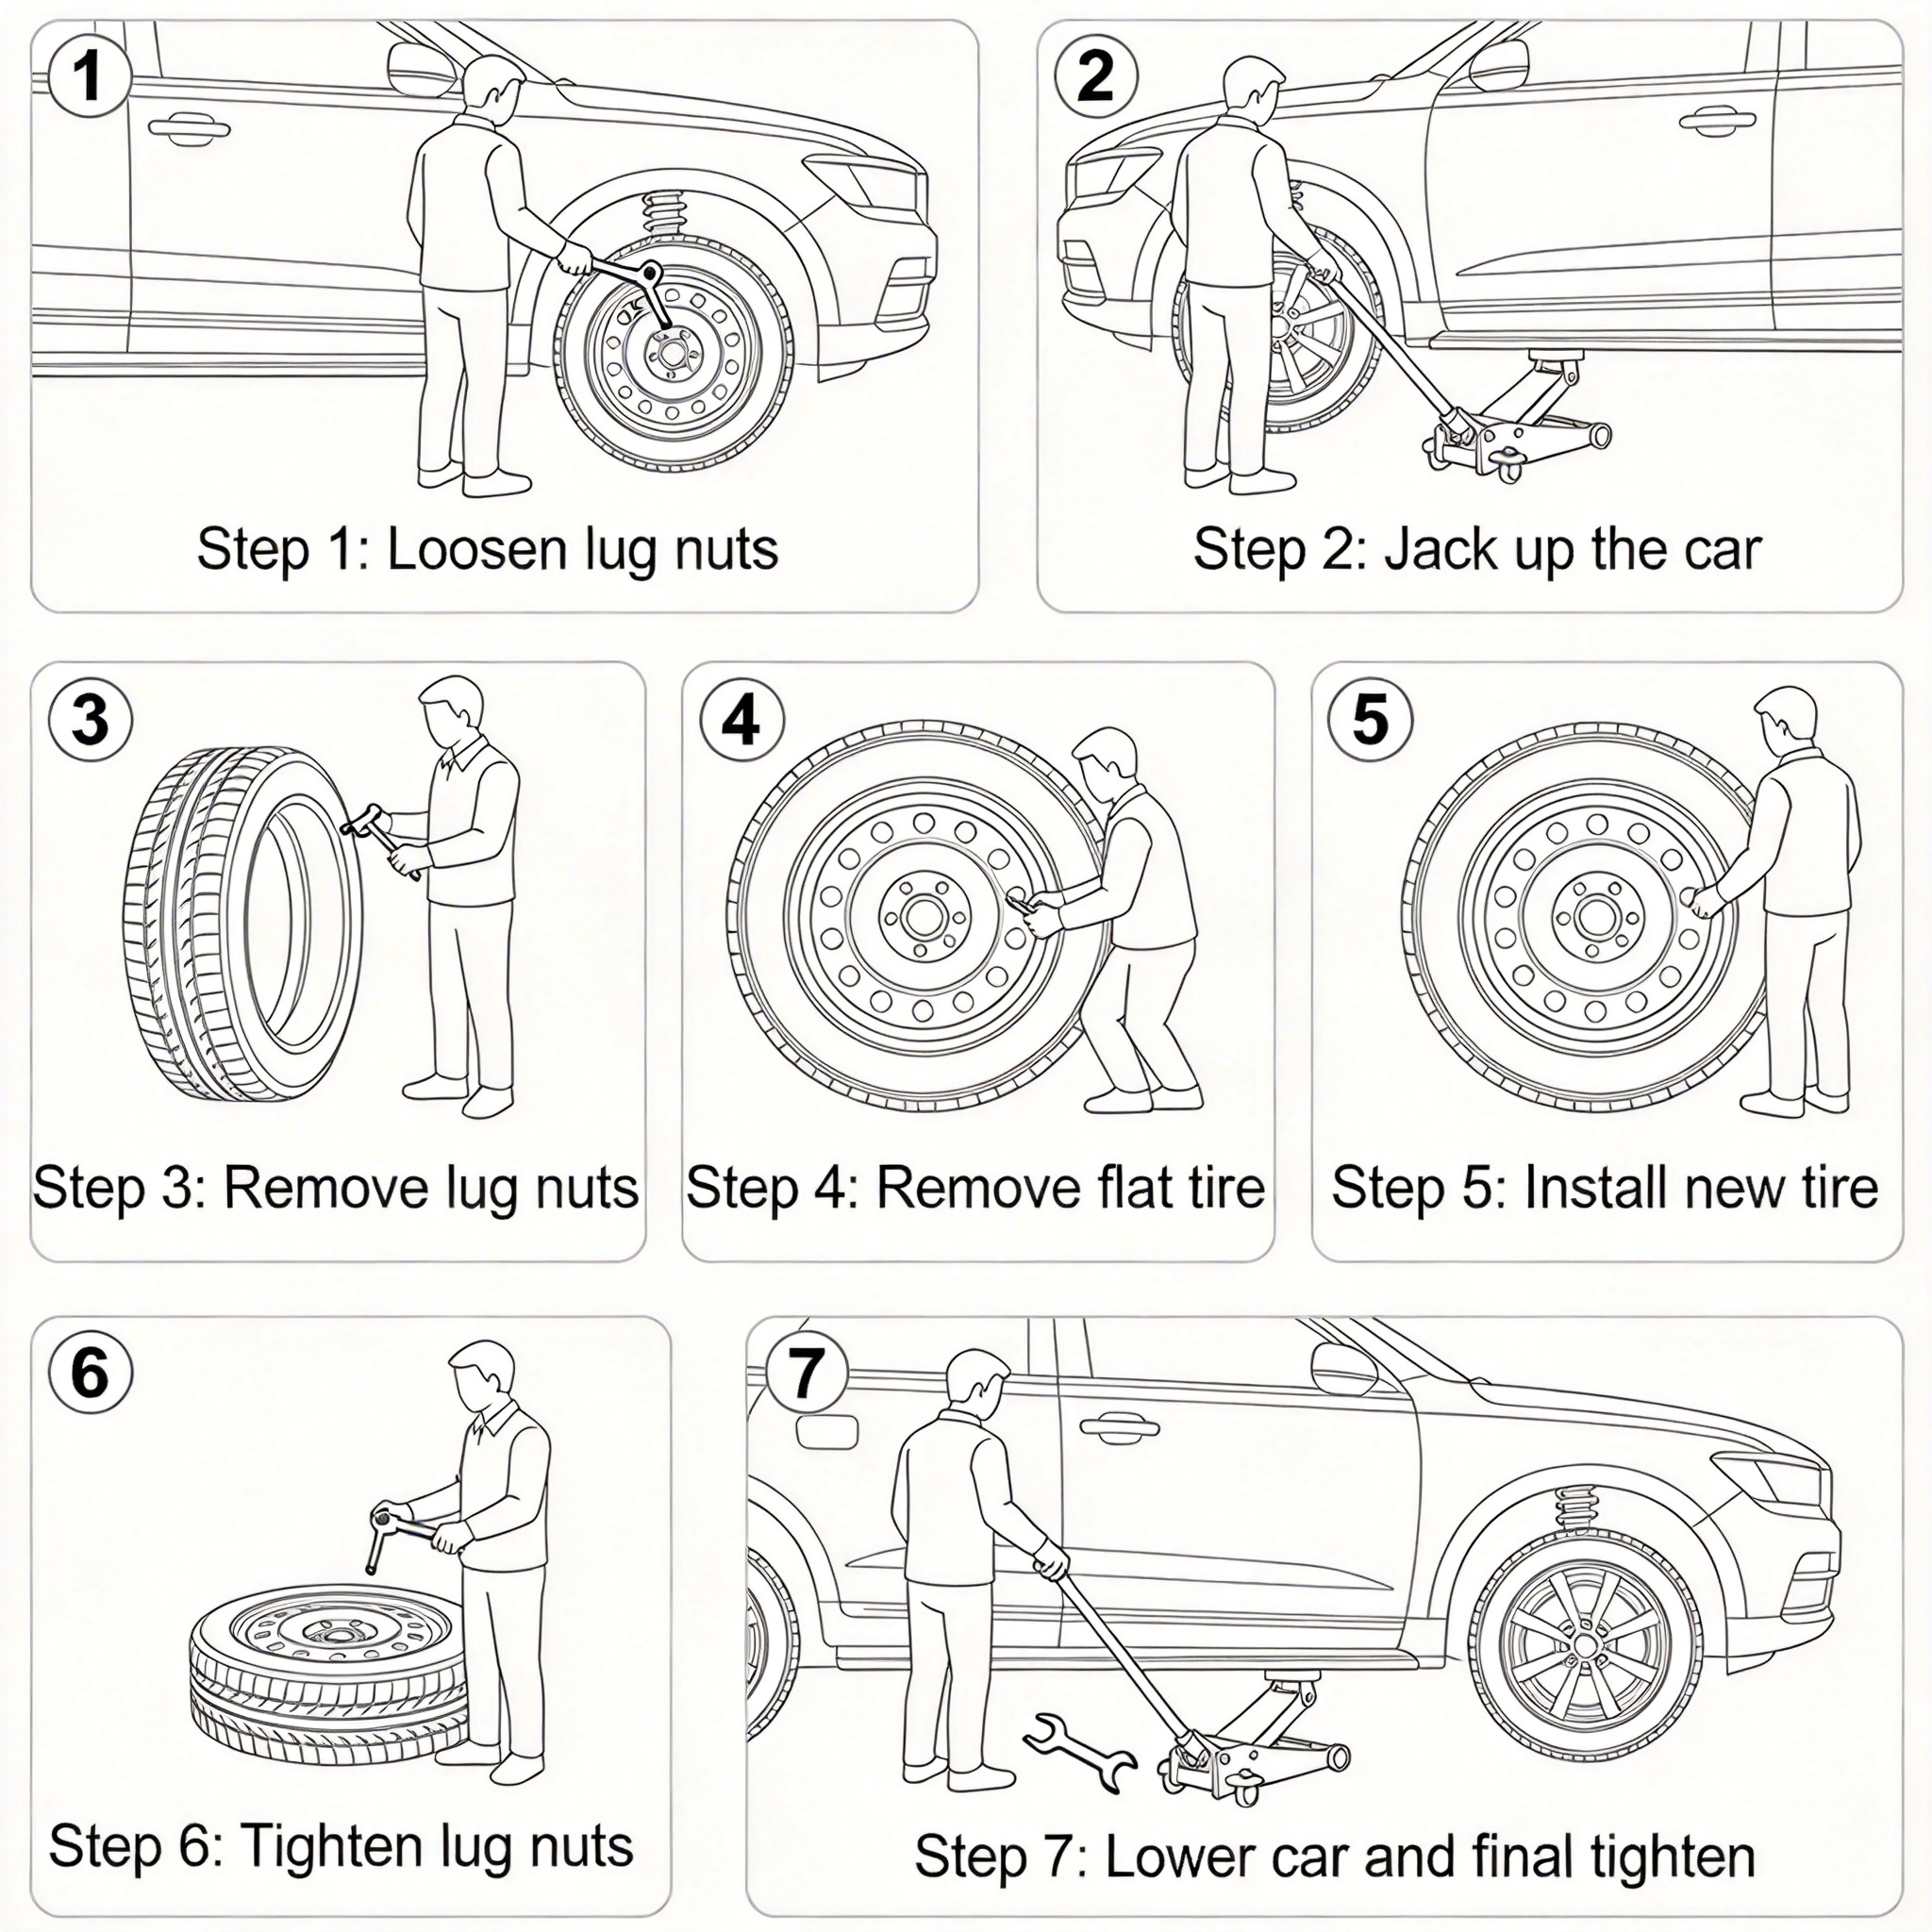
Before lifting the vehicle, use the lug wrench to loosen (but don't remove) the lug nuts on the flat tire. Turn counterclockwise. They may be very tight, so use your body weight.
Tip: Breaking the lug nuts loose while the wheel is still on the ground prevents the wheel from spinning.
Warning: Don't remove the lug nuts completely yet - the wheel needs to stay in place while you lift.
Consult your owner's manual for the correct jack point. Position the jack under the designated lift point. Turn the jack handle to raise the vehicle until the flat tire is about 6 inches off the ground.
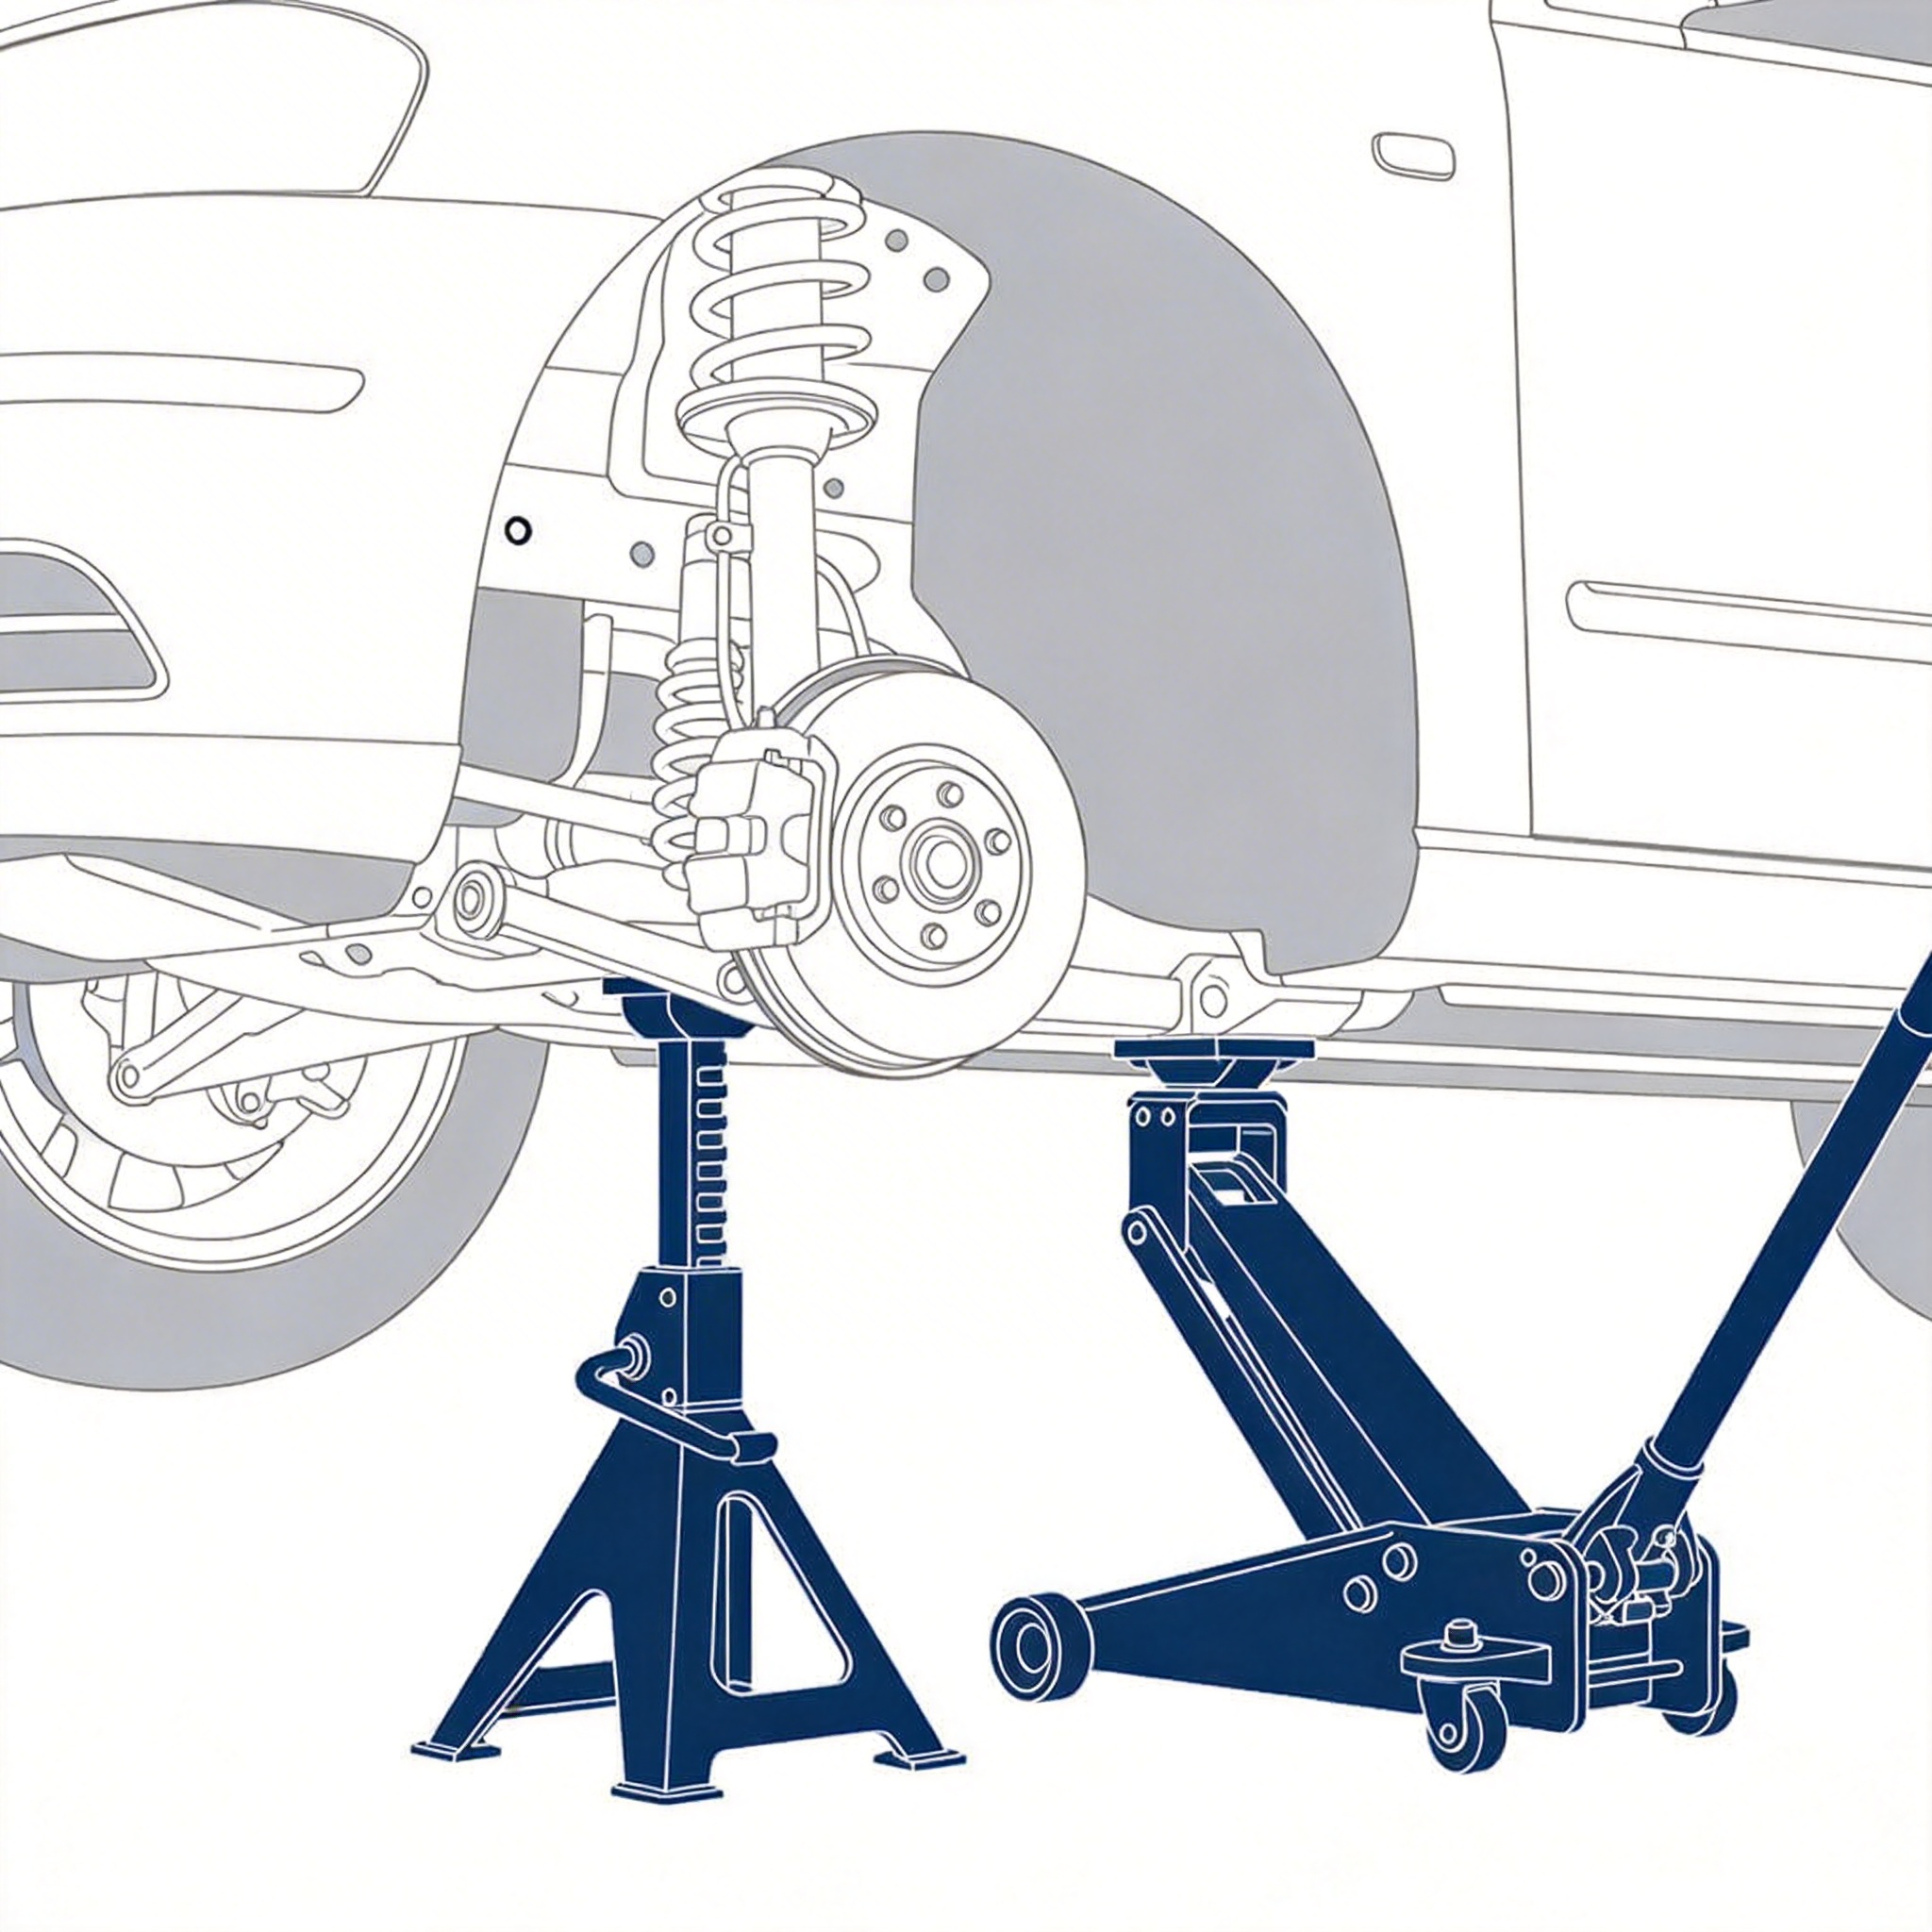
Tip: Double-check that the jack is stable and properly positioned before putting any part of your body near the wheel.
Warning: Never get under a vehicle that is supported only by a jack. If you have a flat surface, slide the spare tire under the vehicle as a safety precaution.
Now fully remove the loosened lug nuts. Place them in your pocket or a secure spot where they won't roll away. Pull the flat tire straight toward you and set it aside.
Tip: If the tire is stuck due to rust or corrosion, hit the top edge of the tire sidewall with your palm to break it loose. Don't hit the rim.
Lift the spare tire and align its holes with the wheel studs. Push it onto the hub until it sits flush against the brake rotor/drum. Replace the lug nuts and hand-tighten them as much as possible.
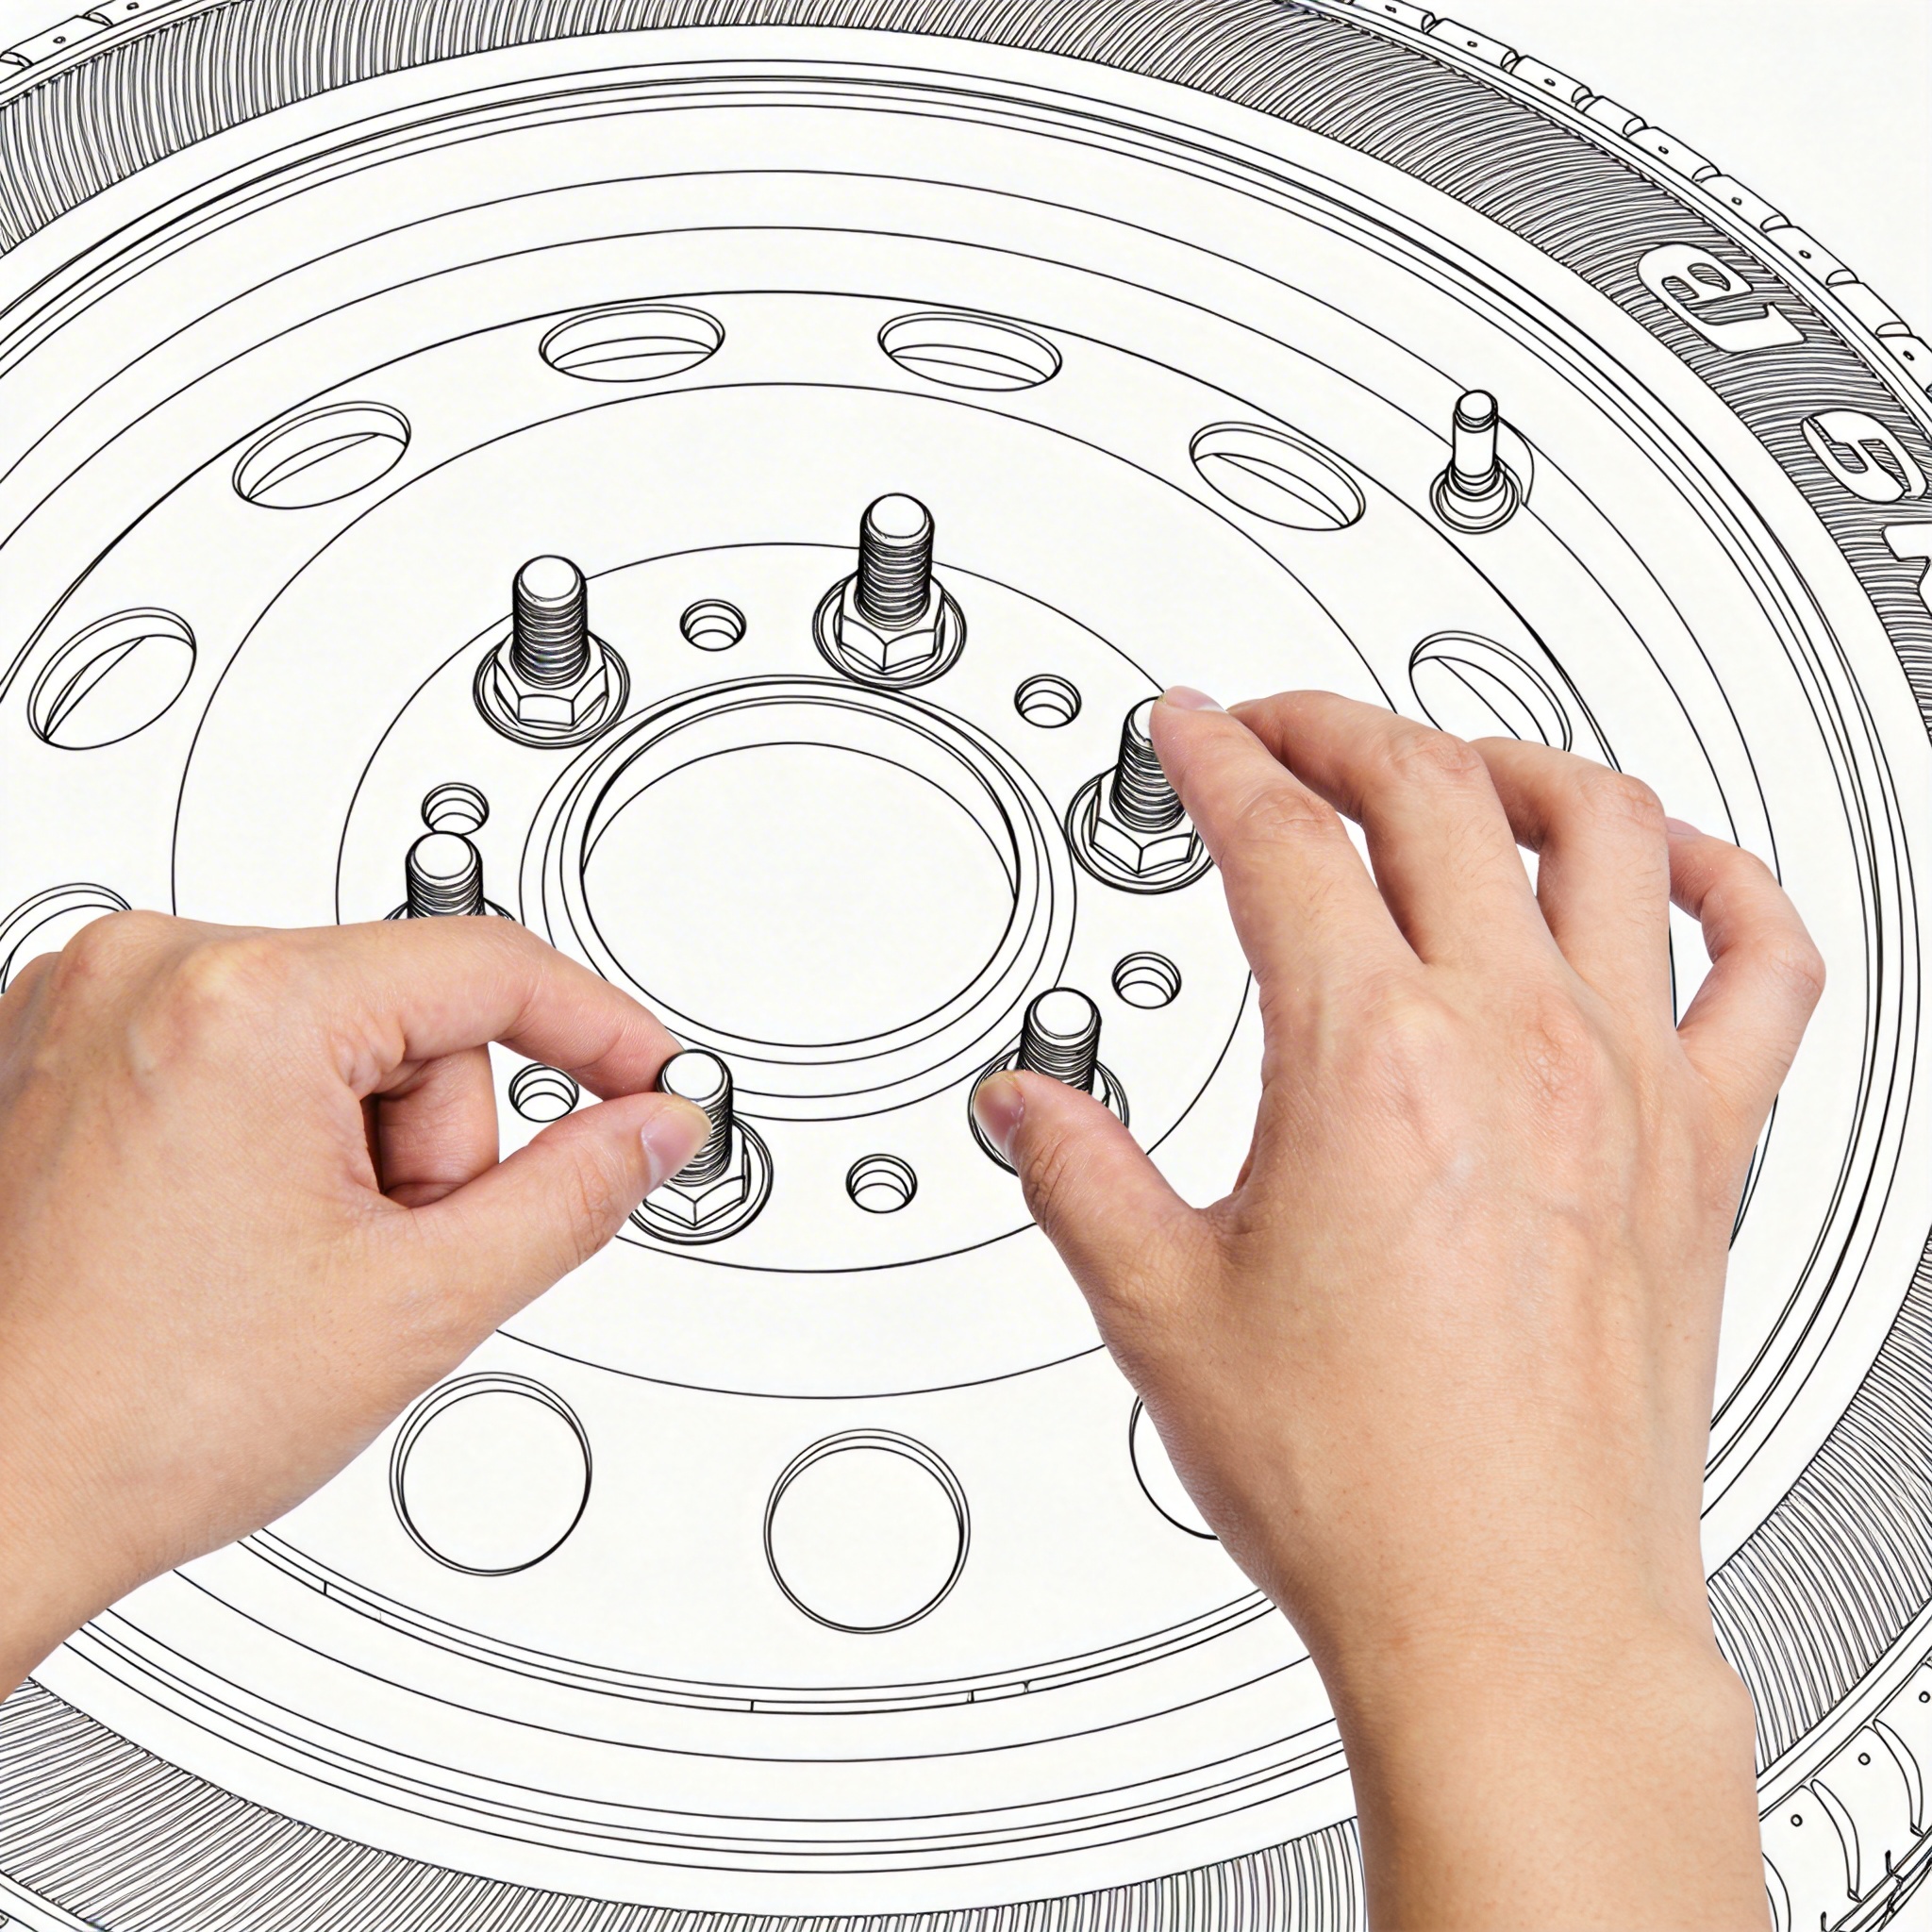
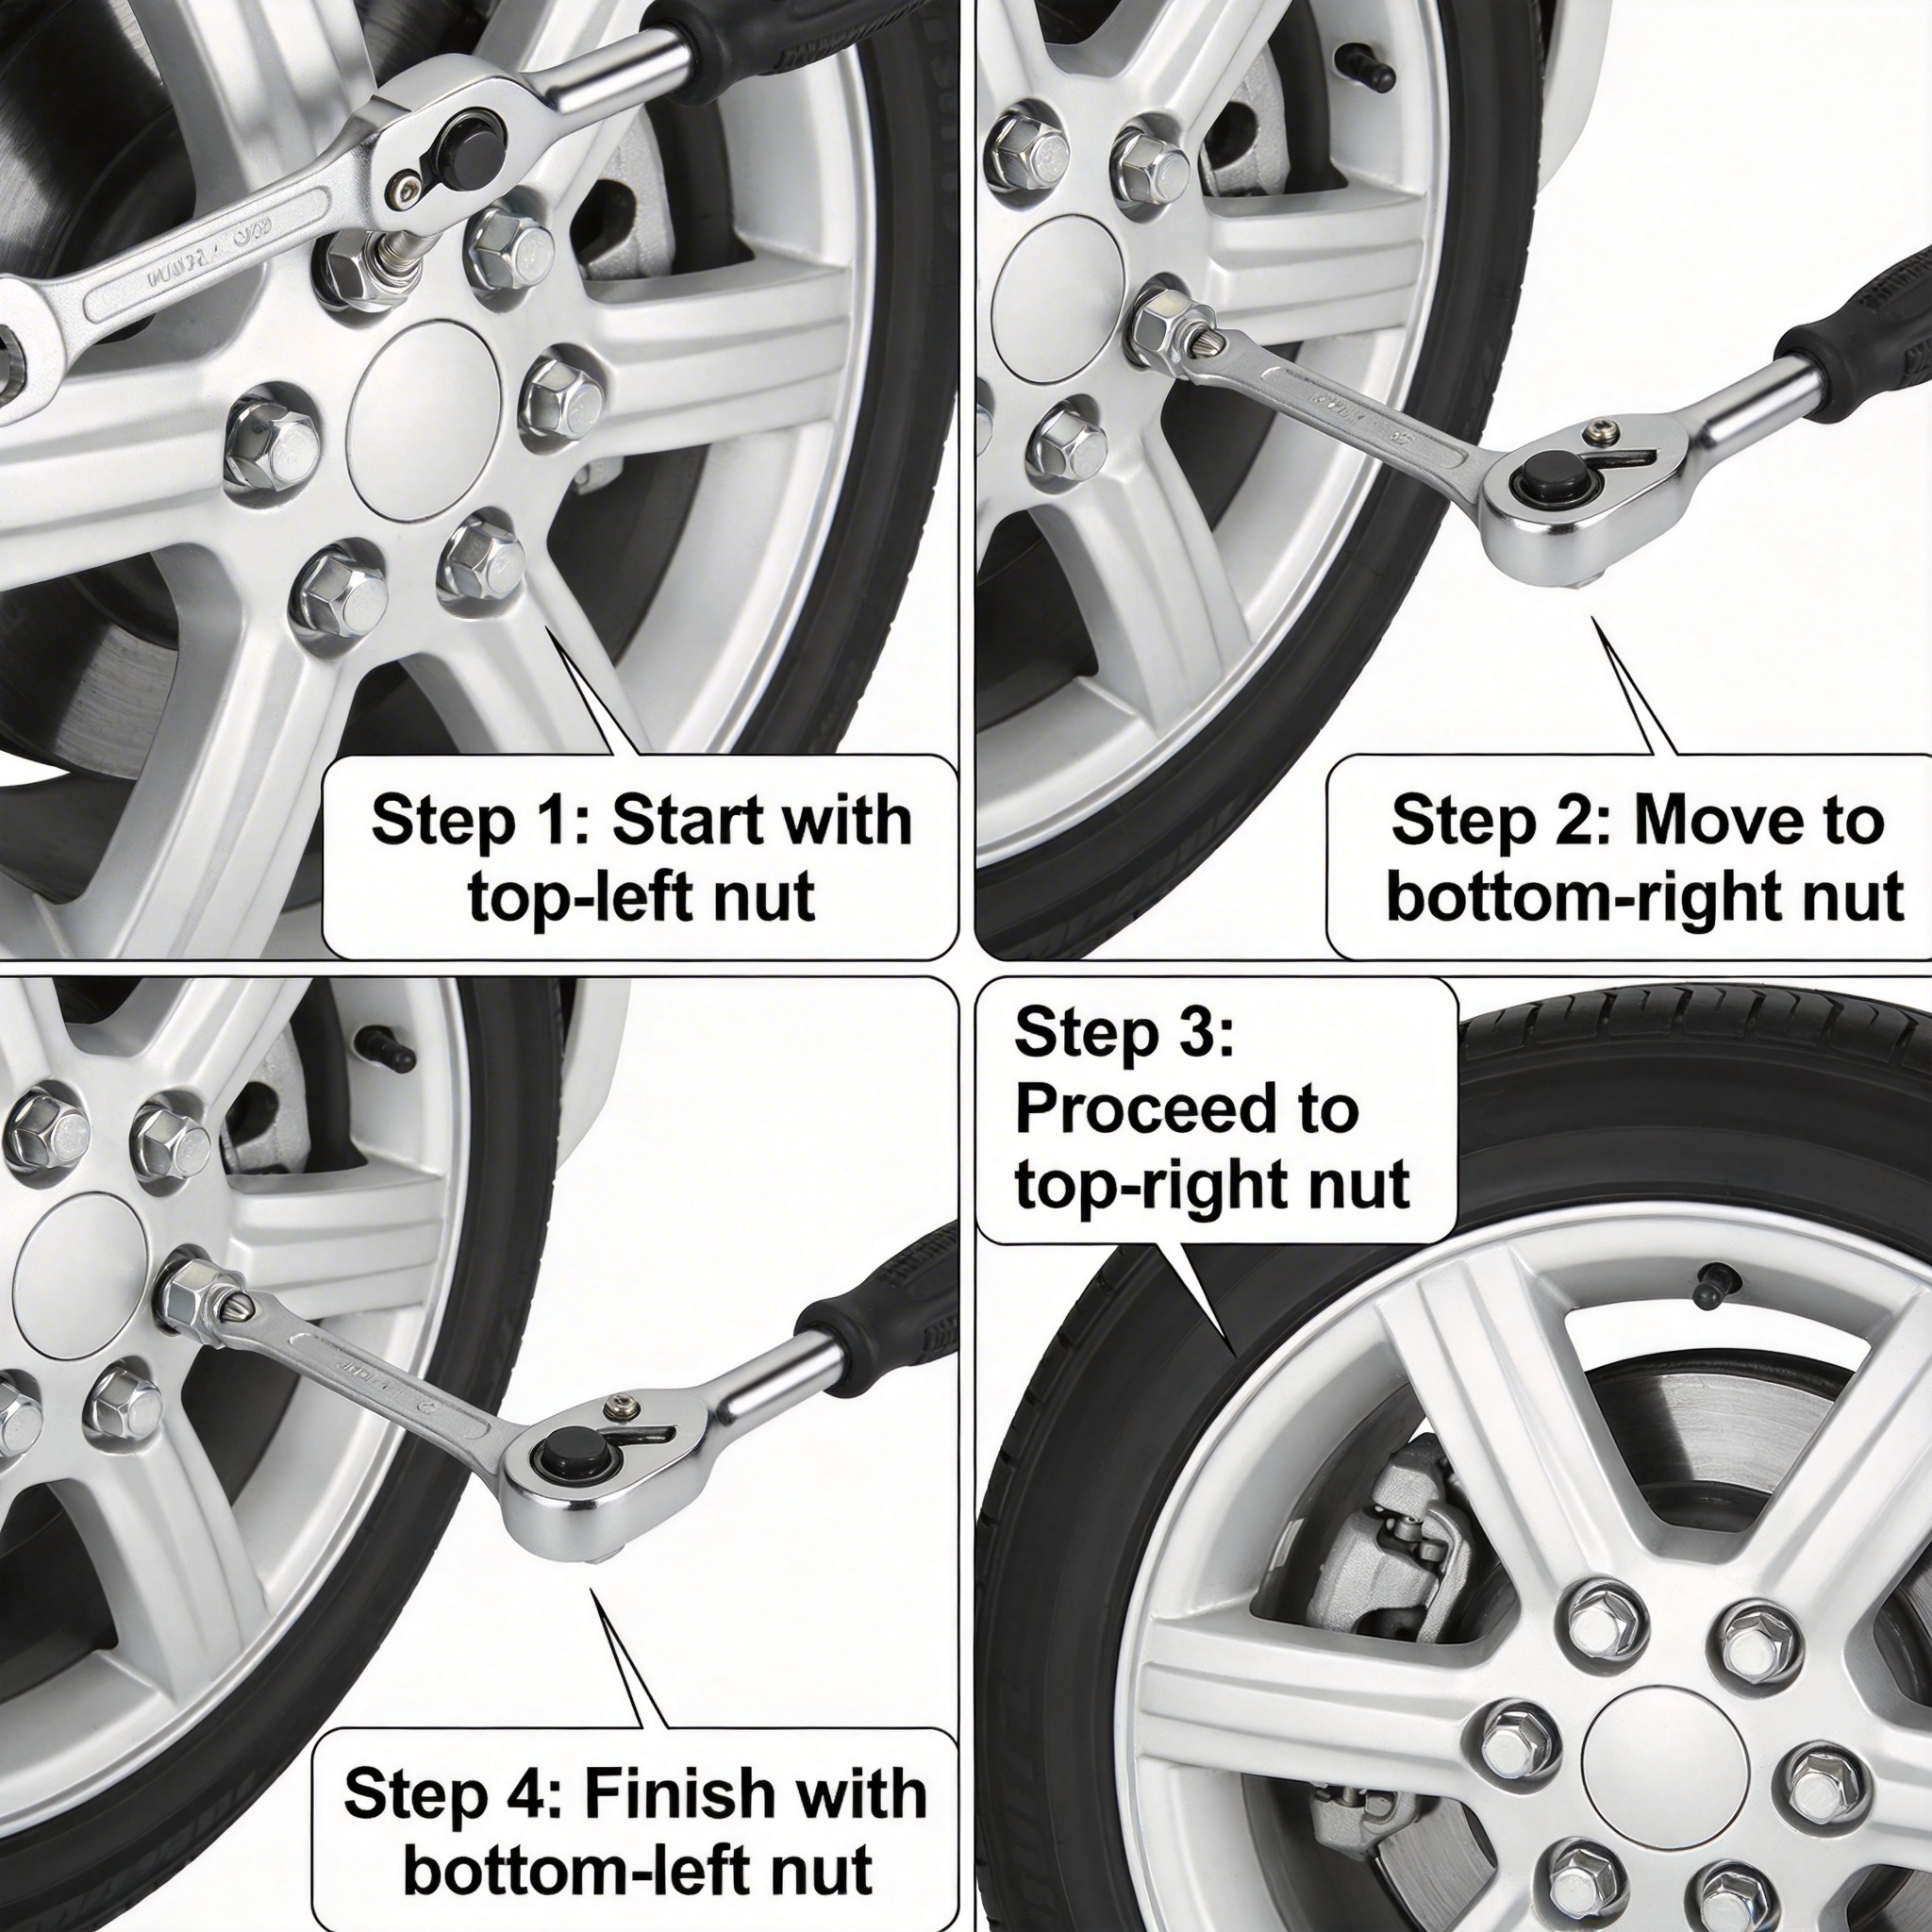
Tip: Tighten the lug nuts in a star (crisscross) pattern: top, bottom, left, right, then remaining. This ensures the wheel seats evenly.
Lower the vehicle until the tire just touches the ground but still has some weight on the jack. Use the lug wrench to fully tighten all lug nuts in a star pattern. Then lower completely and remove the jack.
Tip: Give each lug nut an extra tightening after the vehicle is fully on the ground.
Warning: If you have a temporary spare tire (smaller than your regular tires), do not exceed 50 mph and limit driving to 50-70 miles.
Put the flat tire in your trunk, cargo area, or truck bed. Secure the jack, lug wrench, and other tools in their proper storage locations. As soon as possible, check the spare tire pressure at a gas station.
Tip: Get your flat tire repaired or replaced as soon as possible. A tire shop can often repair a puncture if it's in the tread area and not too large.
Frequently Asked Questions
This guide covers standard passenger vehicles. Some vehicles have specific requirements: run-flat tires may not need immediate replacement, electric vehicles require special jack points, and some luxury vehicles have air suspension that must be disabled before lifting. Always check your owner's manual.
Car Jack(Required)
A device used to lift the vehicle off the ground. Most vehicles come with a scissor jack, but hydraulic jacks are easier to use.
Lug Wrench(Required)
A tool used to loosen and tighten the lug nuts on your wheels. Often comes with the vehicle as a tire iron.
Spare Tire(Required)
A backup tire that comes with your vehicle. Check tire pressure regularly as spares can lose air over time.
Flashlight
Essential for nighttime tire changes. A headlamp keeps your hands free.
Work Gloves
Protect your hands from hot surfaces, sharp edges, and dirt.
Wheel Wedges
Blocks placed behind tires to prevent the car from rolling. Bricks or large rocks can work in a pinch.
Reflective Triangle
Alerts other drivers that you're stopped. Essential for roadside safety.
Safety First
Always prioritize your safety. If you're in an unsafe location or feel uncomfortable, call roadside assistance.